

Do I Need To Make A New Texture To Have Tattoos To Daz3d Characters
Following the basic operations in the previous article, this time we volition customize the facial texture of the homo torso created in Daz Studio.
If yous want to change the size of the eyes or the position of the olfactory organ, it is all-time to use the Daz Shop add-on.
If yous want to create originality or recreate a distinctive grapheme, delight refer to this page.
<– Finished epitome or gif –>
For more information on the bones operations of Daz Studio, please refer to the previous article.
- ane Preparing a human model in Daz Studio
- two Preparing the textures
- ii.one Prepare a human face up texture
- 3 Editing in Photoshop
- 3.1 Eyebrows
- 3.2 Nose
- 3.3 Lips
- three.4 Adjusting the Texture
- three.5 Adding makeup, moles, etc
- 4 Assign a Texture
- five Introduction to NEWVIEW SCHOOL ONLINE
Preparing a human being model in Daz Studio
Open Daz Studio and double-click on one of the images from Smart Content→Figures.
Cull a model with a texture instead of a Dev Load.

Daz Studio
This time we are using Genesis viii Female.
We will export the model equally FBX and import it into Unity.
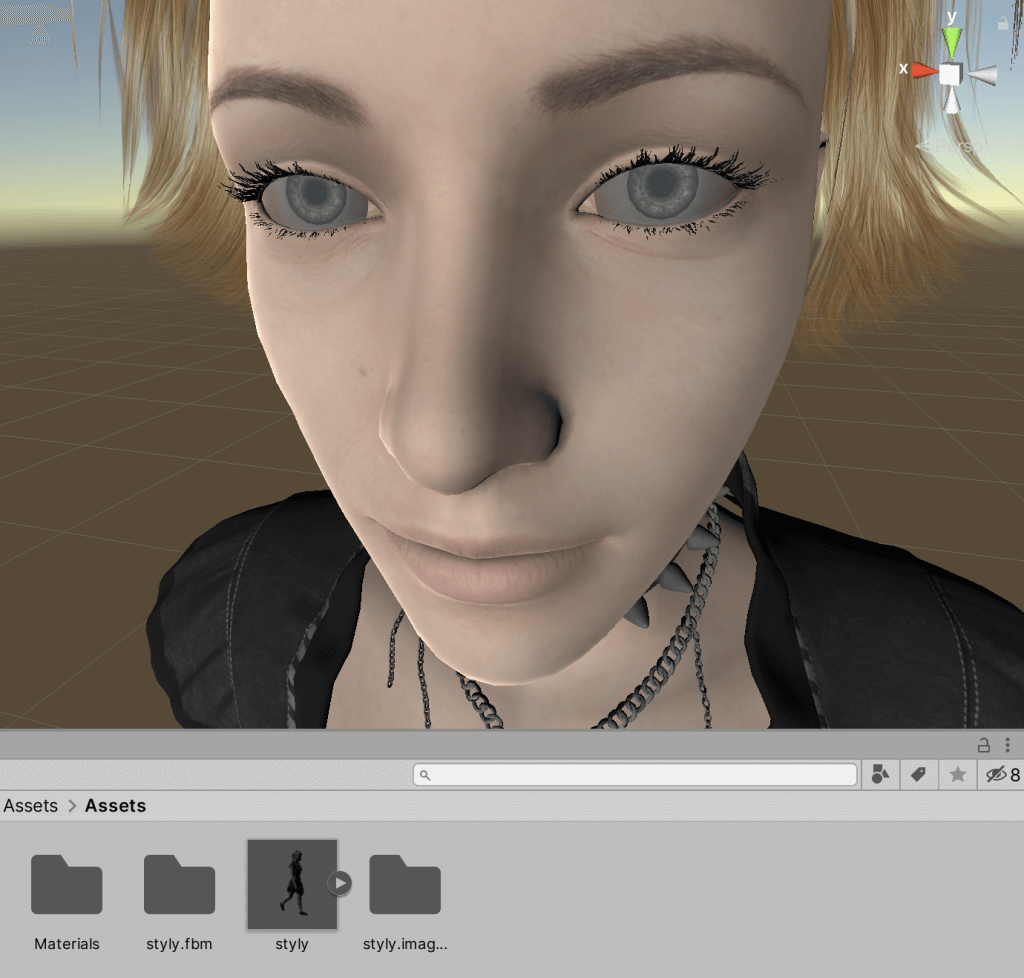
Model imported
The model is now ready to be imported into Unity.
Preparing the textures
The original textures that have been prepare are in the folder ".images".
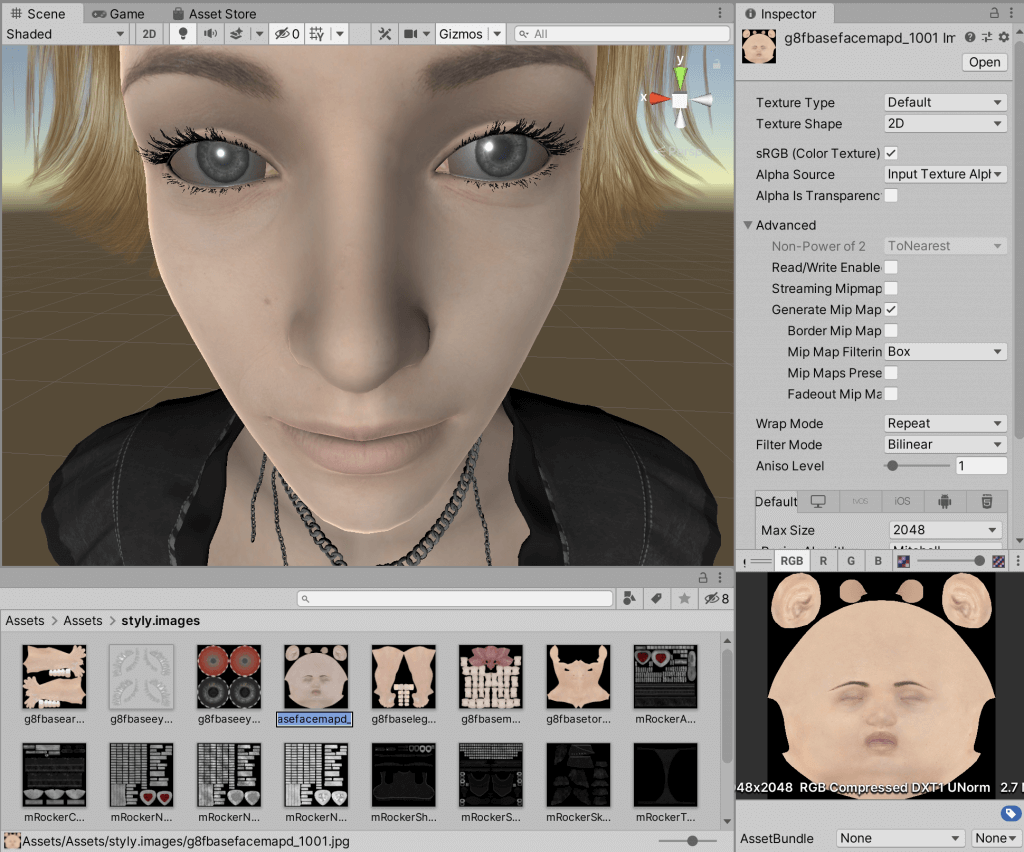
Textures
Right-click on the textures and utilise Reveal in Finder to locate them.
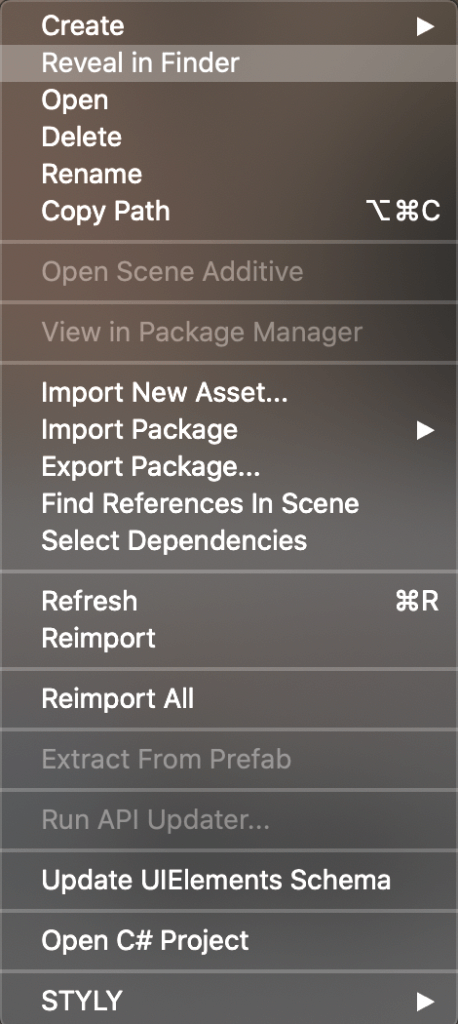
Reveal in Finder
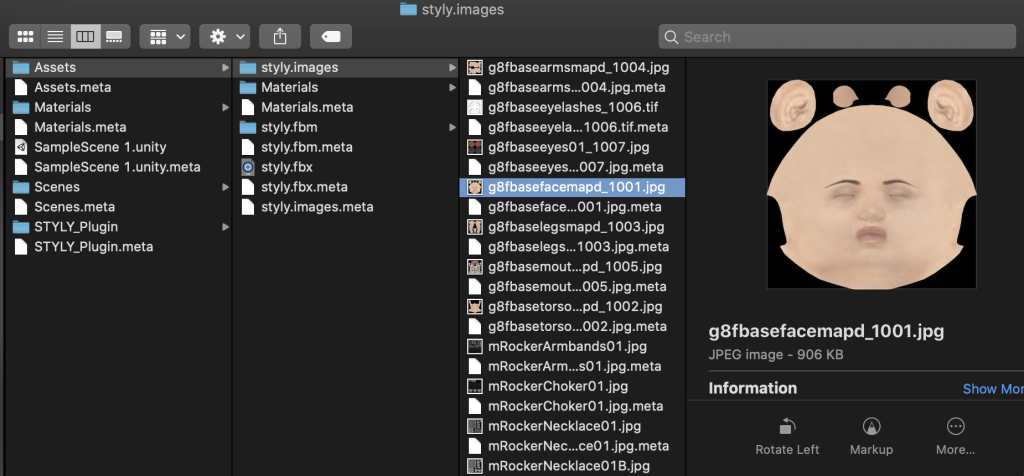
Reveal in Finder
Prepare a human face texture
This is the process of creating originality from the default textures, so you can skip this step and movement on to "calculation makeup, moles, and other features".
This time we will use an image from this site, only you lot can also employ a real person's face image.
Nosotros will utilise images from this site, but you can utilise real people's faces.
- Your forehead should exist visible.
- No pilus on the face parts.
- Picayune shadow.
- Directly on.
- No facial expressions or smiles with no wrinkles.
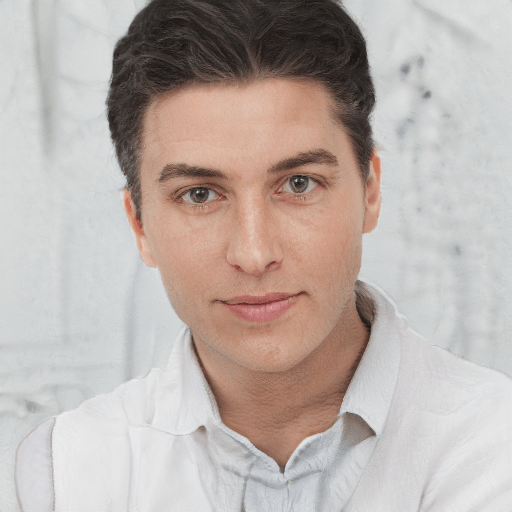
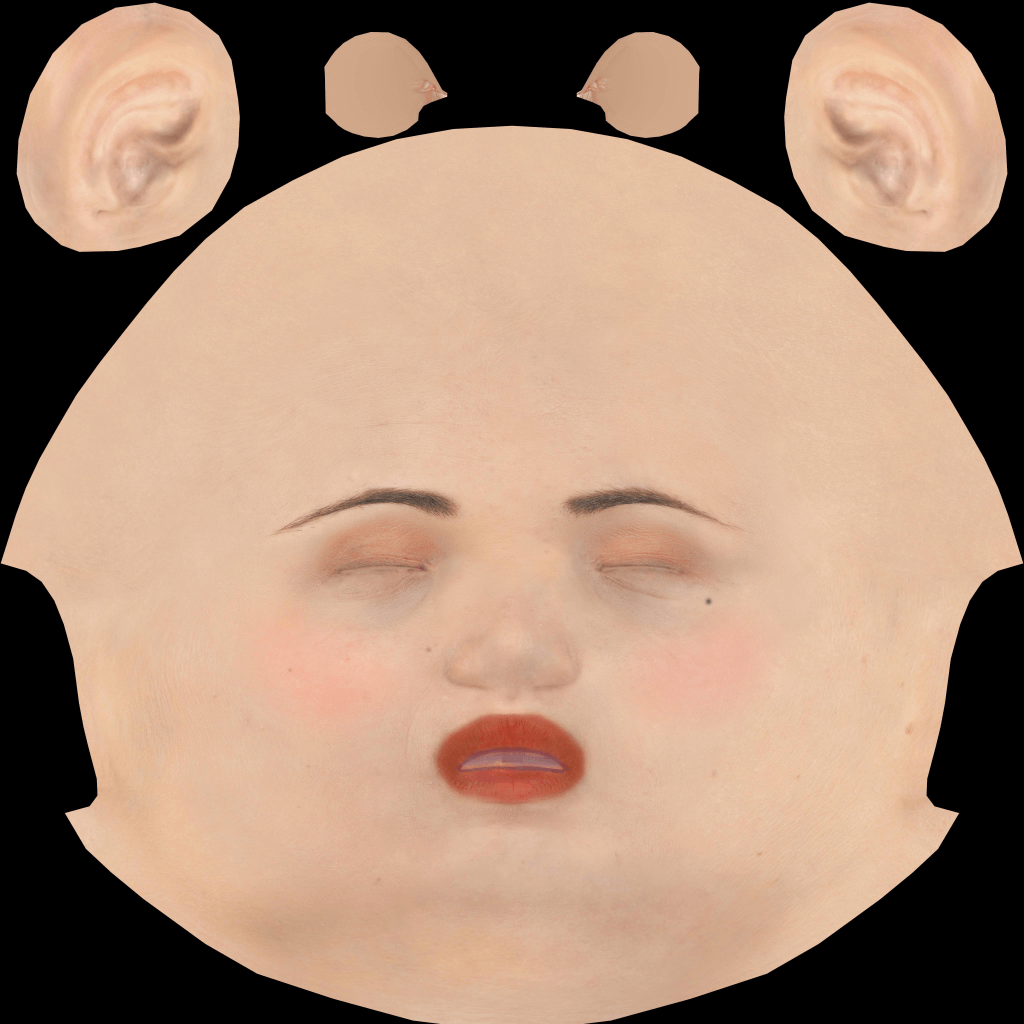
model.png
This paradigm will be used in the caption.
Editing in Photoshop
Later on opening the original texture in Photoshop, elevate and drop the face up paradigm you want to use from above.
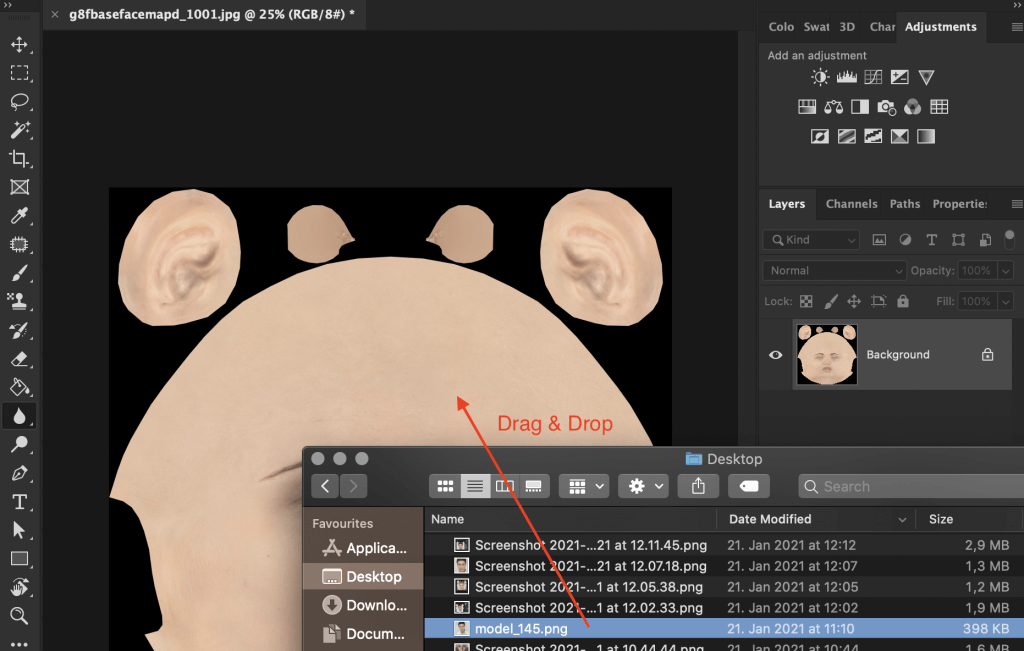
Drag&Drop
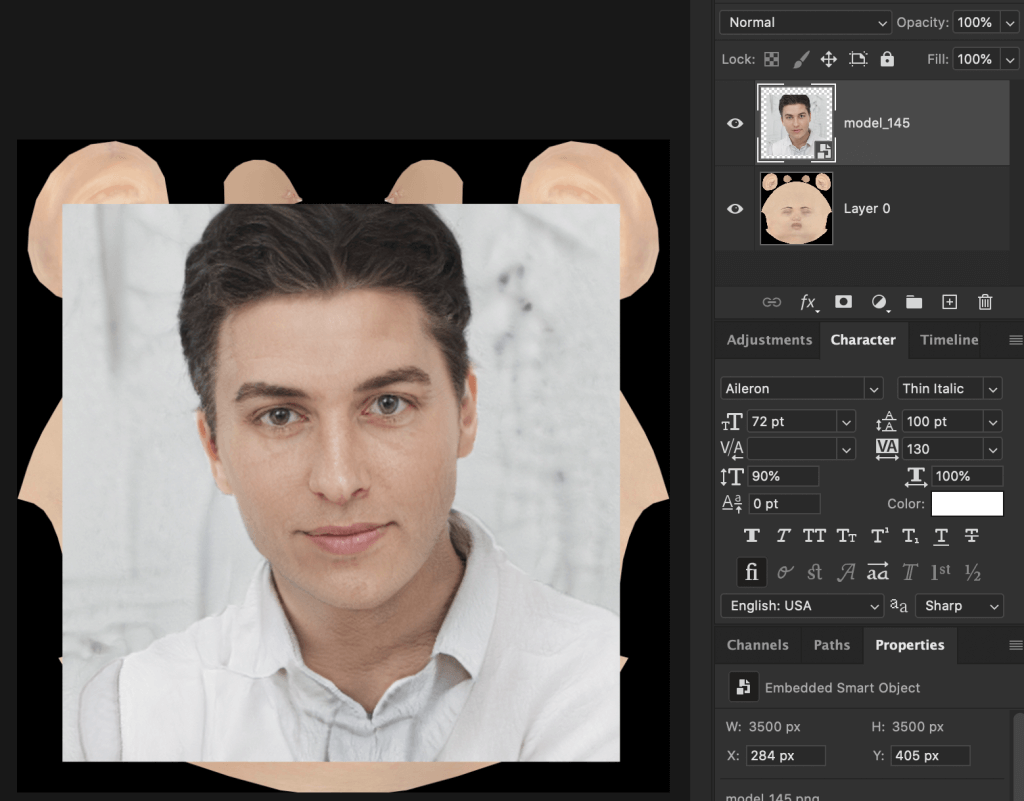
Image Added
While the confront image is selected, adjust the transparency with Opacity on the layer and then that the original texture is visible.
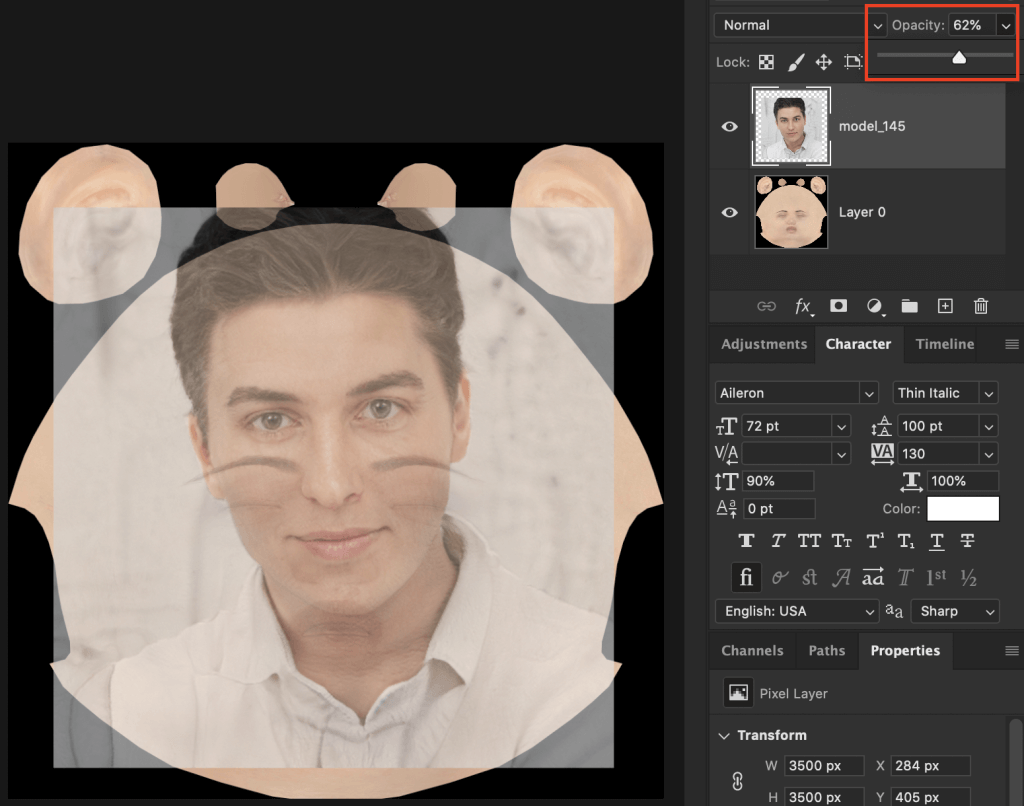
Opacity
Aligns the position, size, and angle of the parts of the face paradigm with the original texture.
This can be approximate, every bit fine adjustments will be made afterward.
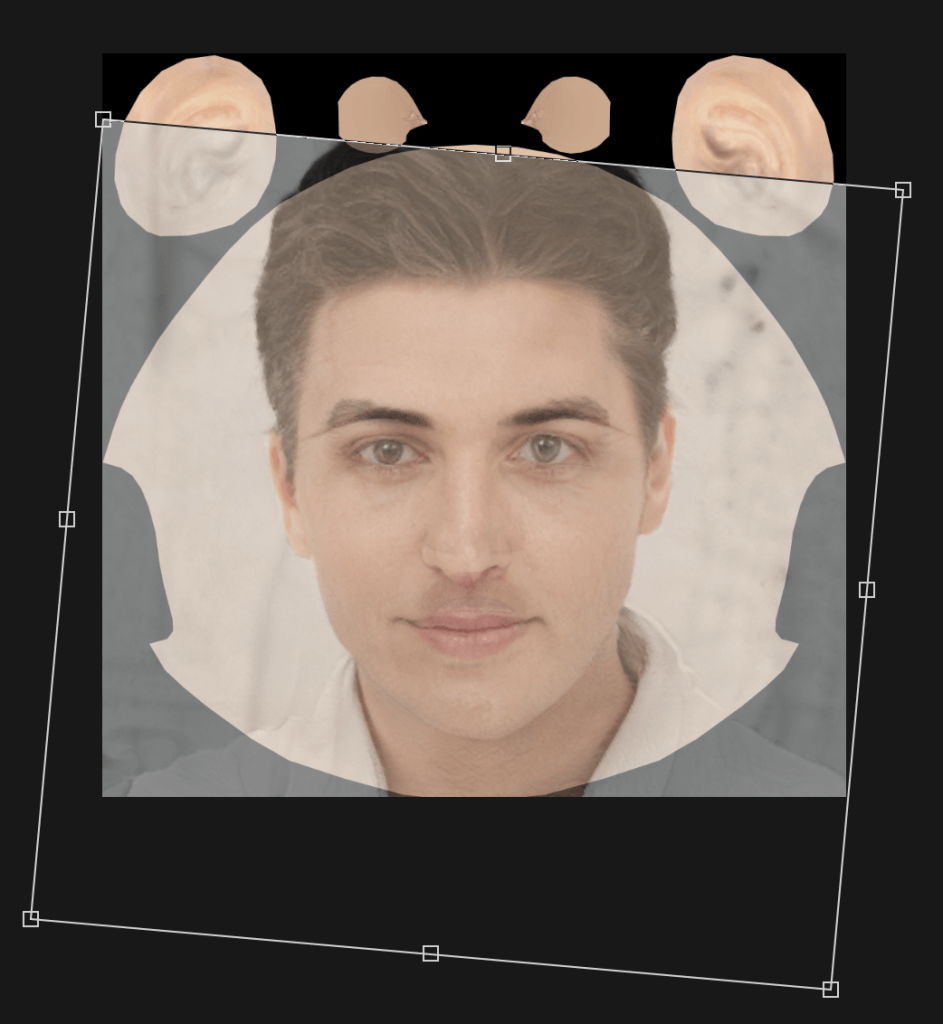
Image Rotate/Motion
Reset the transparency of the face paradigm to 100%.
Correct-click on the face image from the layer -> rasterize Layer to make the face image editable.
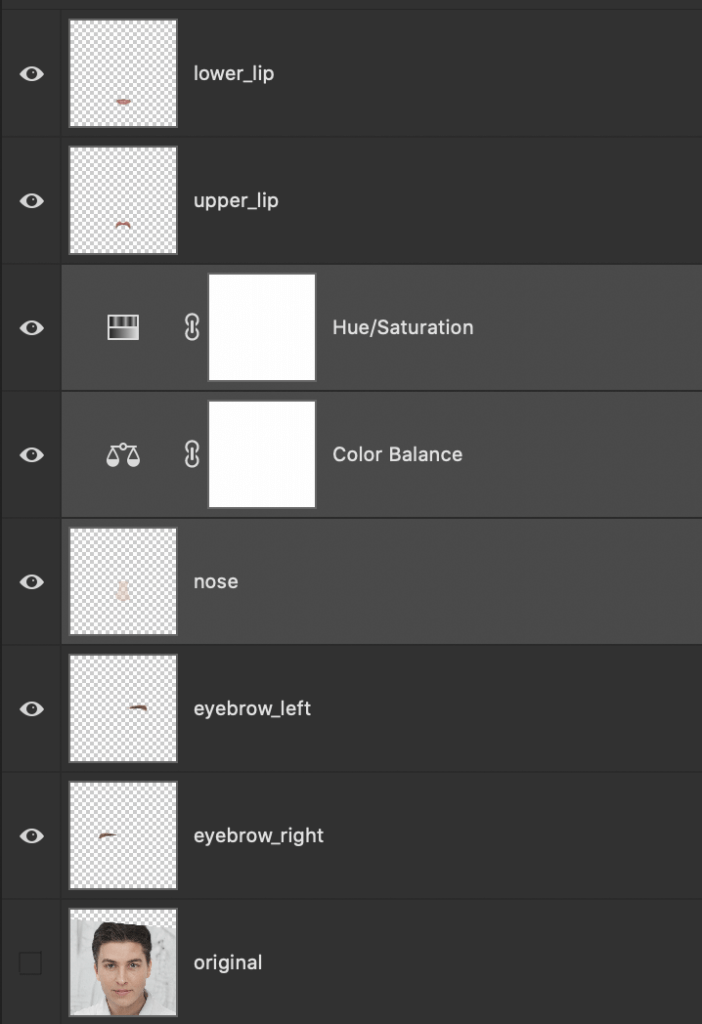
Right-click on the face prototype from the layer again, and exercise Duplicate five times to add five more layers. Change the name of each layer to Eyebrows Left/Right, Olfactory organ, Lips Up/Down.
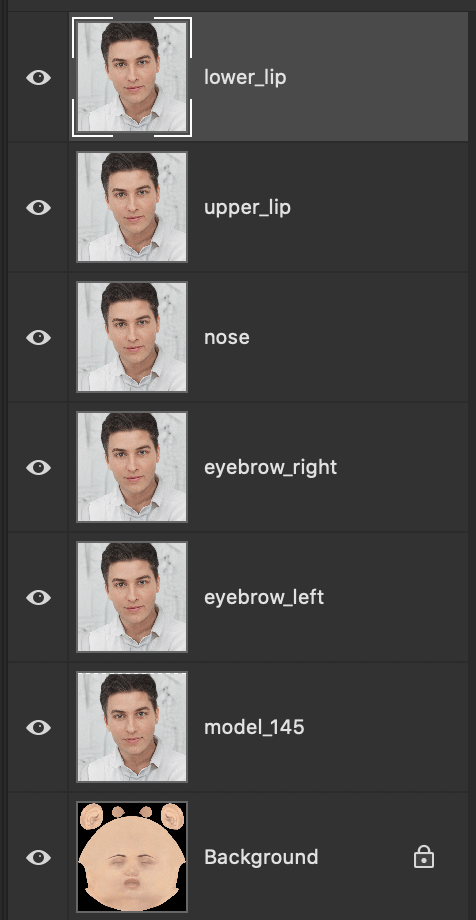
Layers Duplicated
If there are features around the eyes, add together more layers for the eyes, merely they don't have to be.
Eyebrows
Hide all layers except for one eyebrow and the original texture.
Once the visible eyebrow layer is selected, use the Lasso tool to environs the eyebrows.
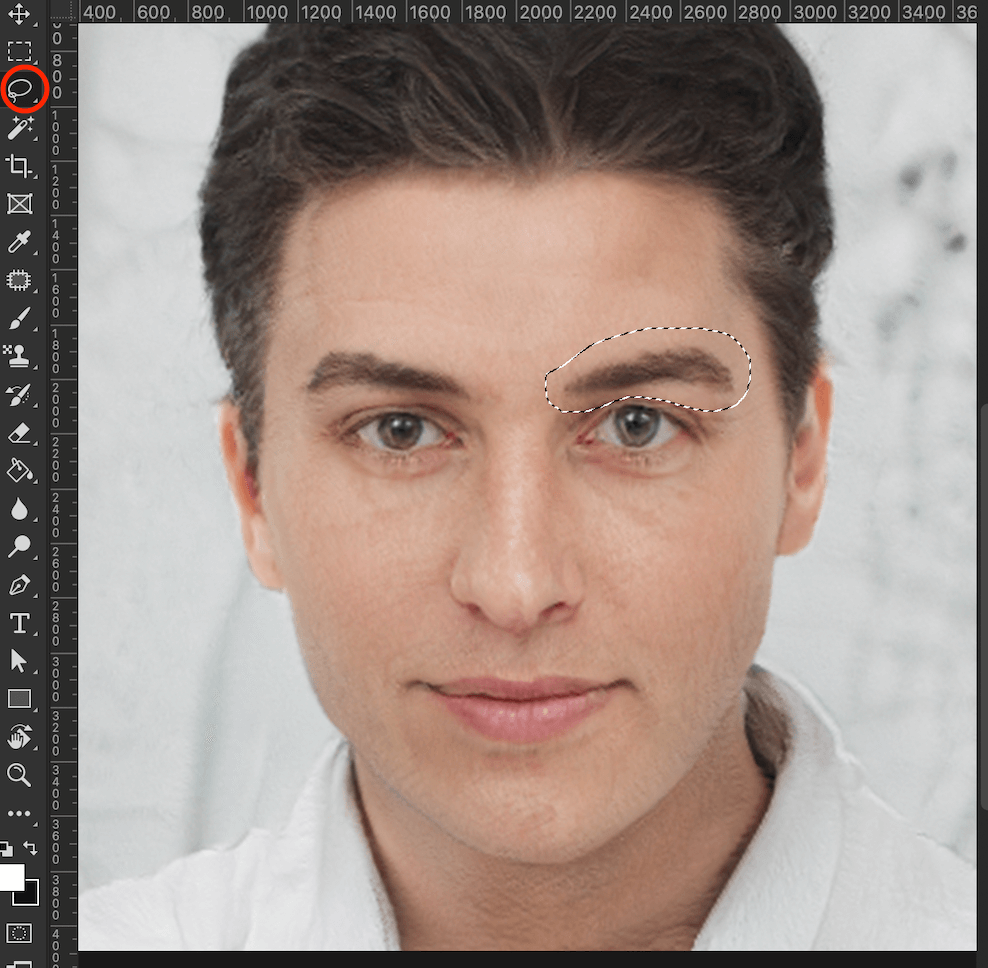
Circle Eyebrow
Once you lot take circled the eyebrow, right-click and select Inverse to capsize the selection, delete it, and leave the eyebrow lone.
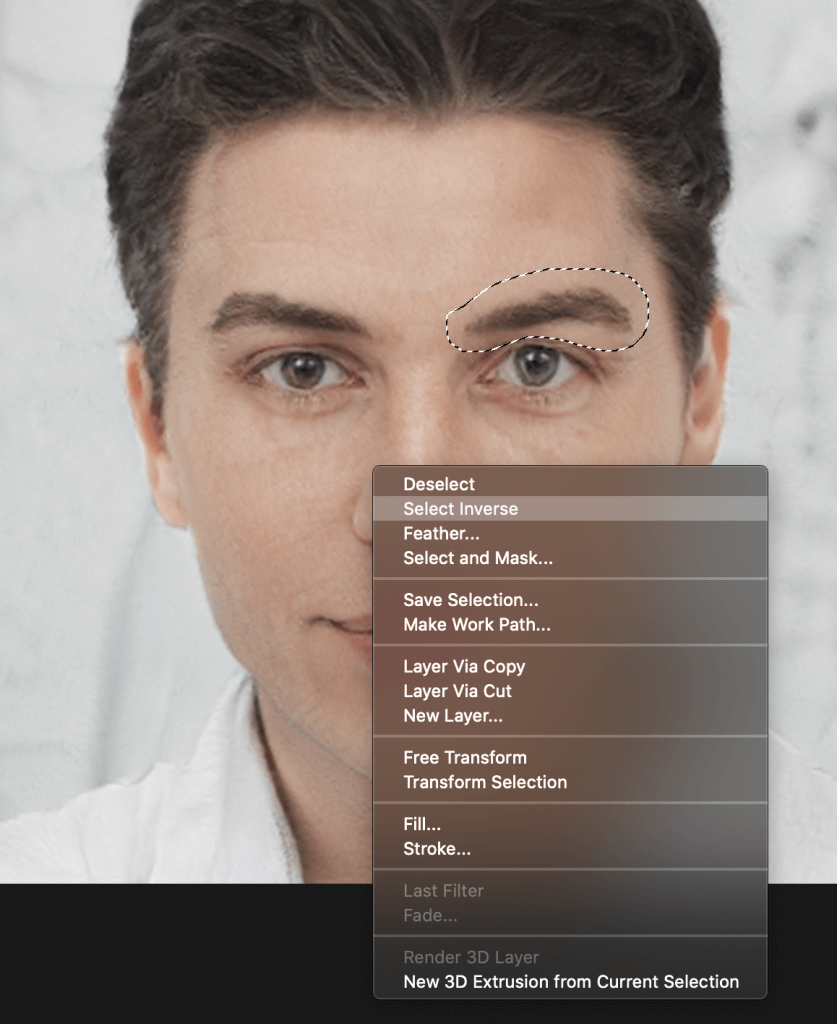
Select Changed
Circumvolve the countenance with the Select tool, then switch to the Movement tool to align the countenance with the original texture.
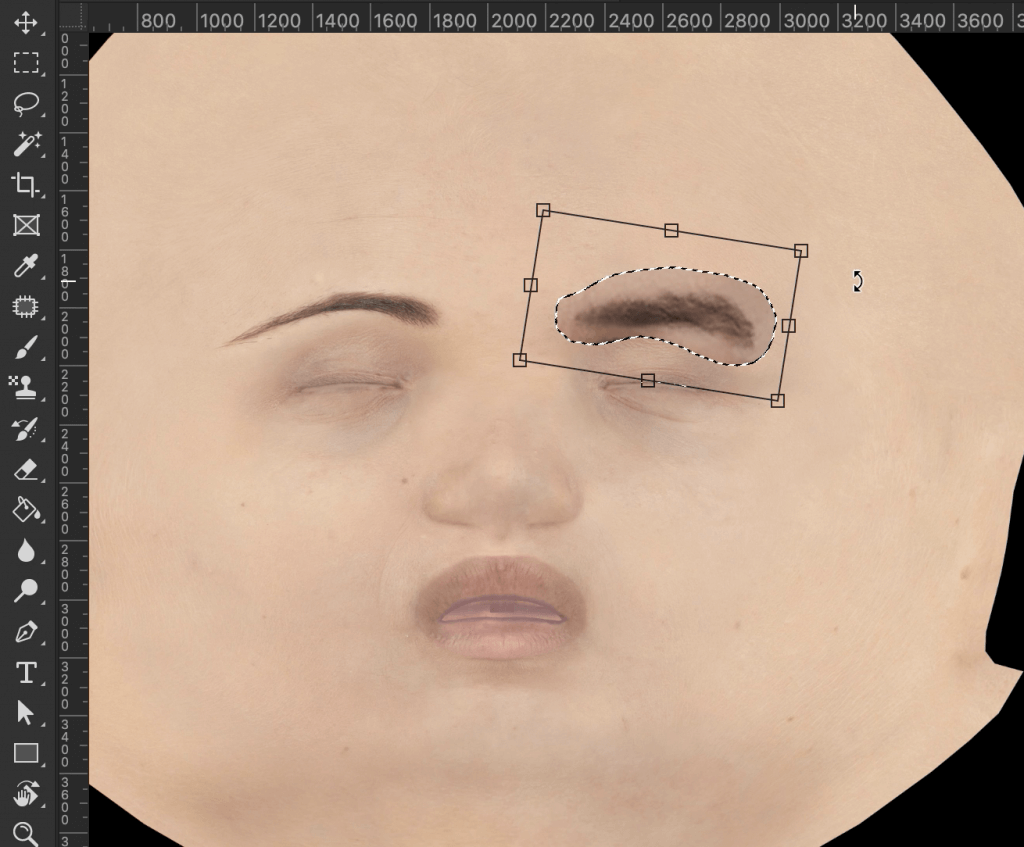
Rotate/Calibration
Use the Eraser tool to erase the surrounding surface area and then that it blends in.
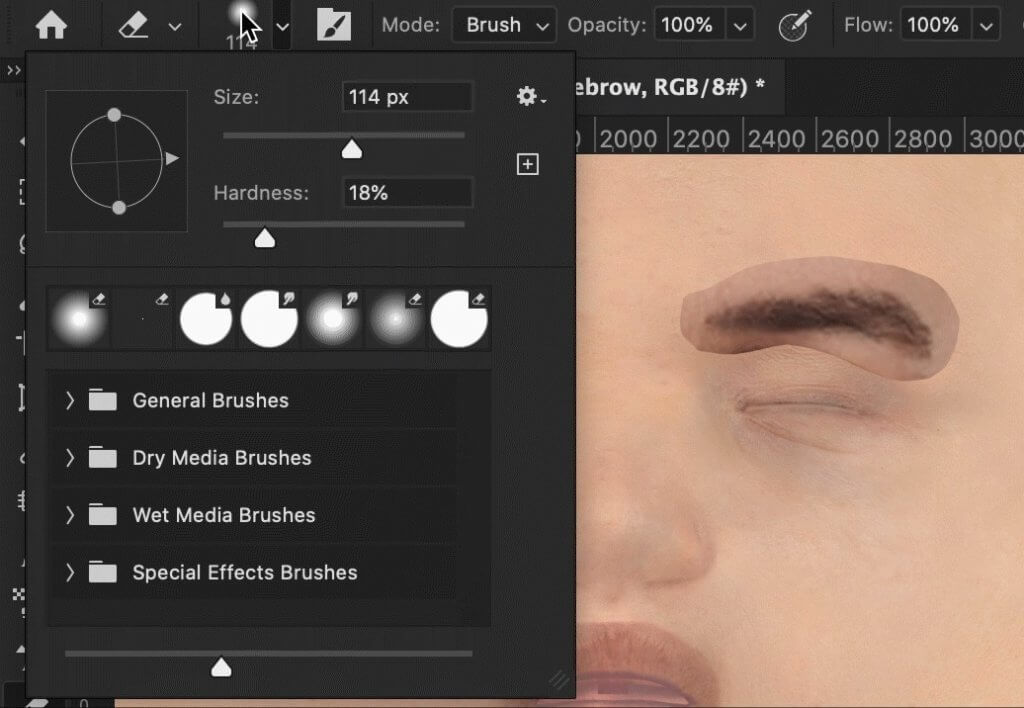
Erase

Erase
Repeat the process for the other eyebrow.
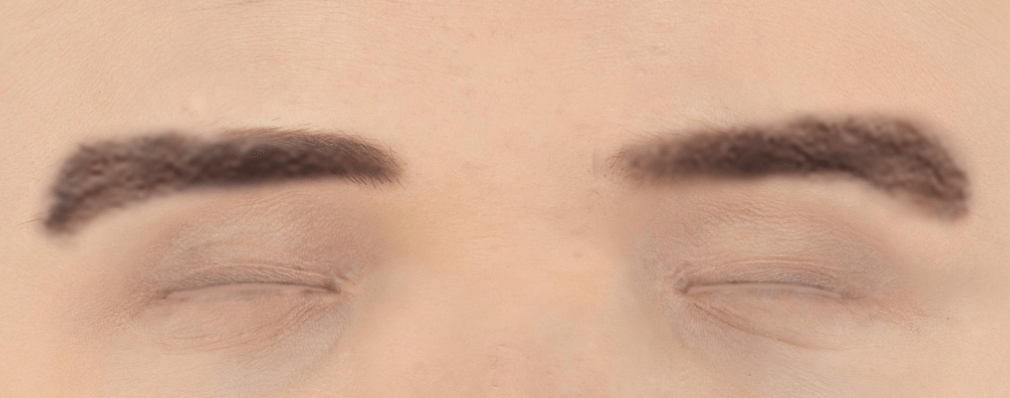
Finished Eyebrows
The eyebrows are now finished.
Nose
The process is basically the aforementioned equally for the eyebrows.
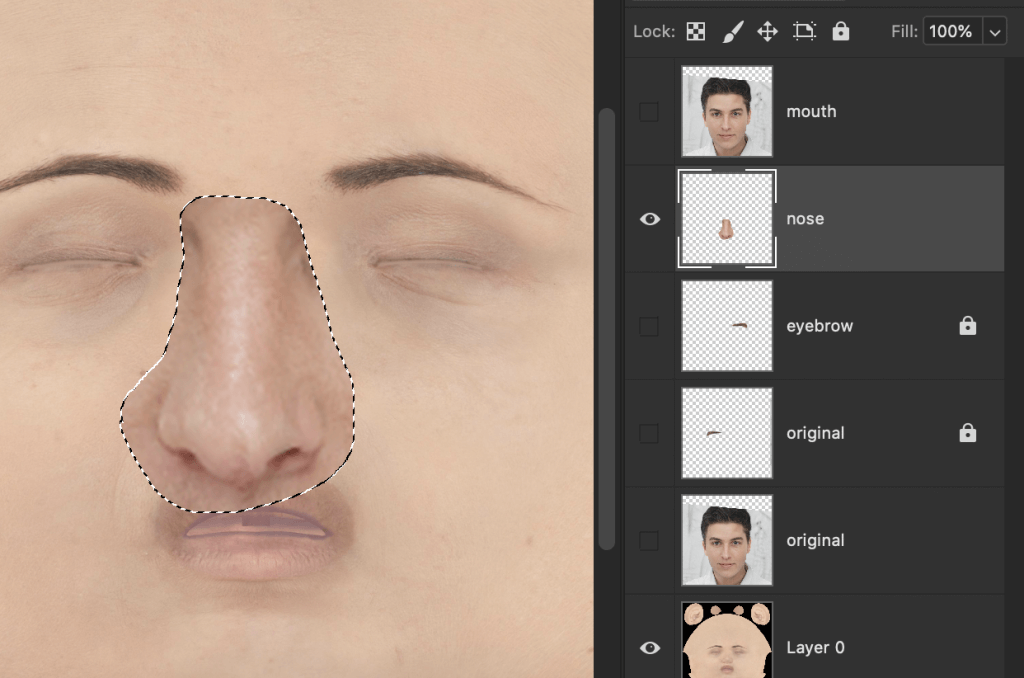
It'southward a good idea to get out the shadow at the base of the nose and the small olfactory organ to show individual differences.
Match the shape of the olfactory organ to the original texture.

Lips
Prepare an upper lip and a lower lip for each layer.
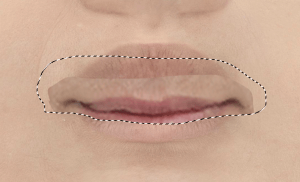
Upper Lip
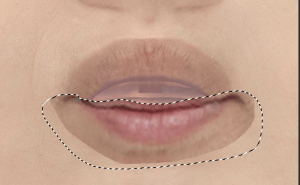
Lower Lip
Since the mouth shape of the original texture is different from the one used in the image, we will deform information technology in particular.
Surround the image with the selection tool, select Edit→Transform, and right-click to select Warp.

Warp
Transform the lips so that they are aligned with the outline.

Warp
Transform the upper lip in the same manner.
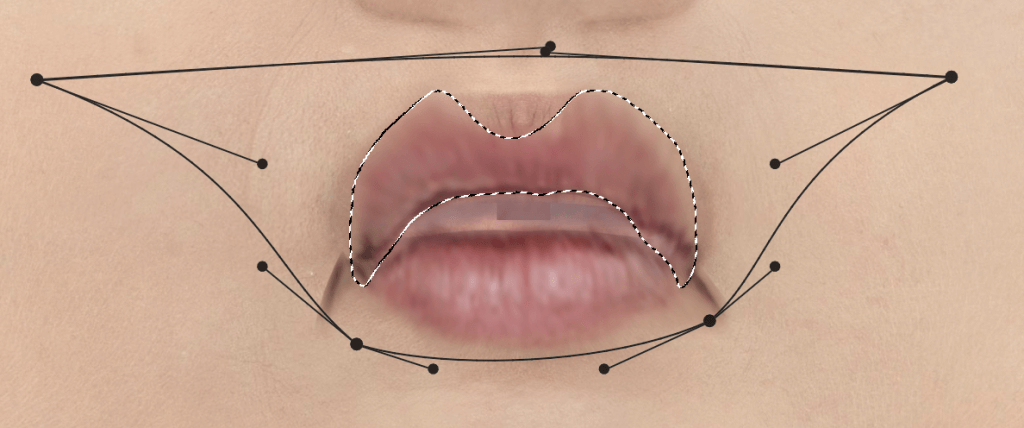
Warp
All the parts are now complete.
Adjusting the Texture
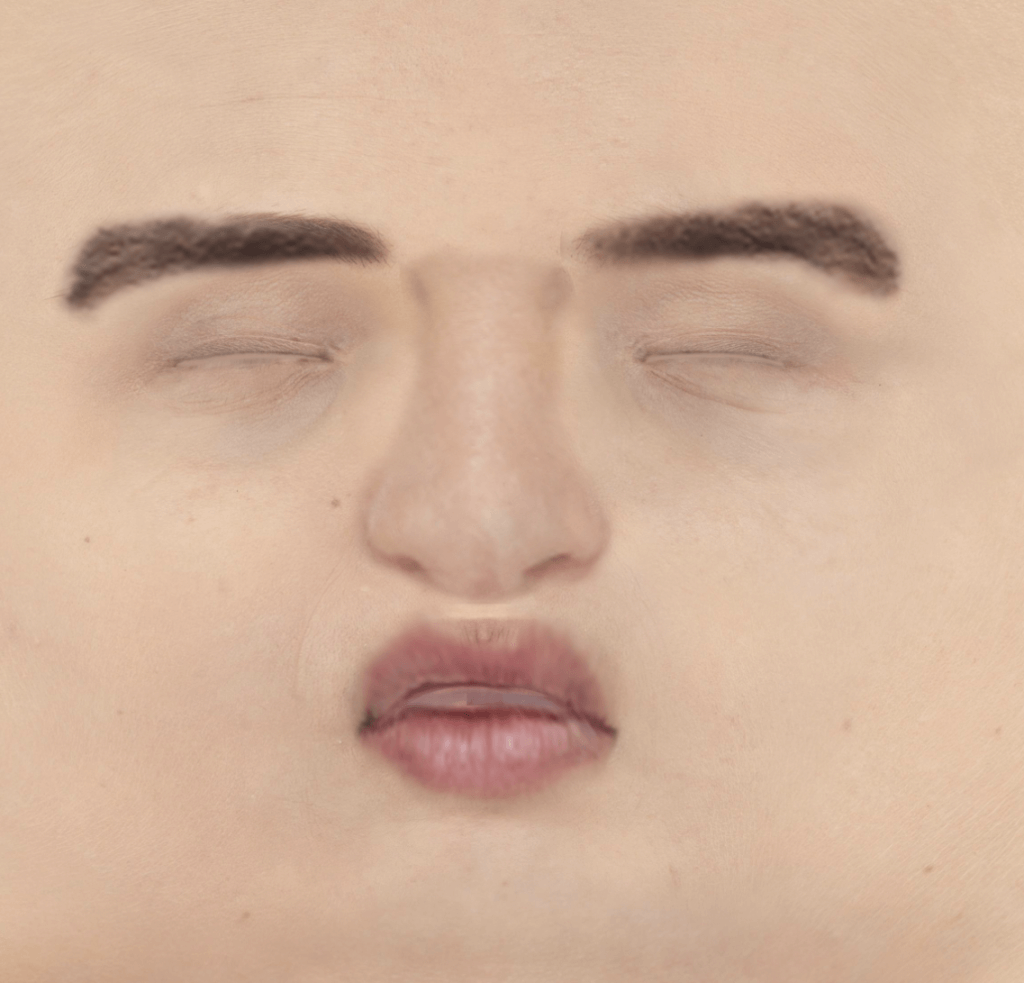
Since the nose is a fleck tinted, select the layer and adjust the color and effulgence in Adjustments.
In this case, I used Hue/Saturation to arrange the brightness and saturation, and Color Balance to add xanthous and magenta.

Adjustments
After making some adjustments, select the olfactory organ and tint layers simultaneously and merge them.
Layer
If you can see the lips in the original texture, select the layer and use the fingertip tool or patch tool to blur them out.

Editing Upper Lip
This completes the editing of the face parts.
If you overwrite the image, the original texture volition be lost and you will not exist able to redo it. Be sure to save the file nether a different name.
Calculation makeup, moles, etc
Select the original texture layer and utilise the Quick Option tool to select it.
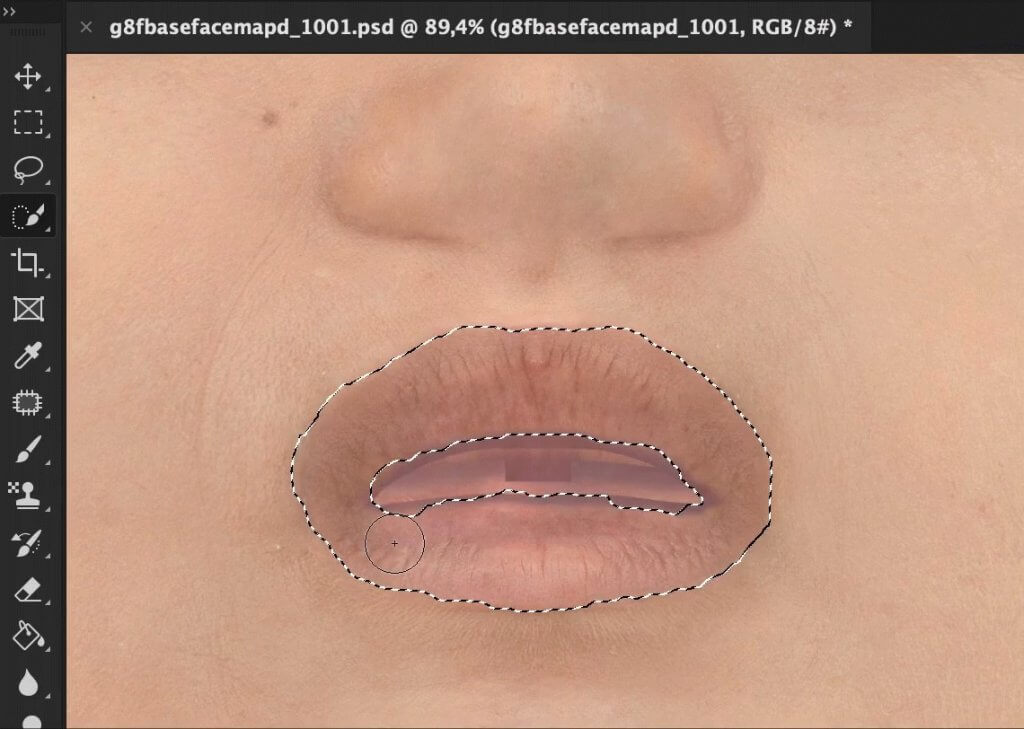
Select Lips
While selected, adapt the Hue/Saturation of the Adjusments.
Here you lot can ready the color, saturation, and brightness to your liking. (You can change them later.)

Hue/Saturation
Select Gaussian Blur from Filter in the upper tab to blur the border.
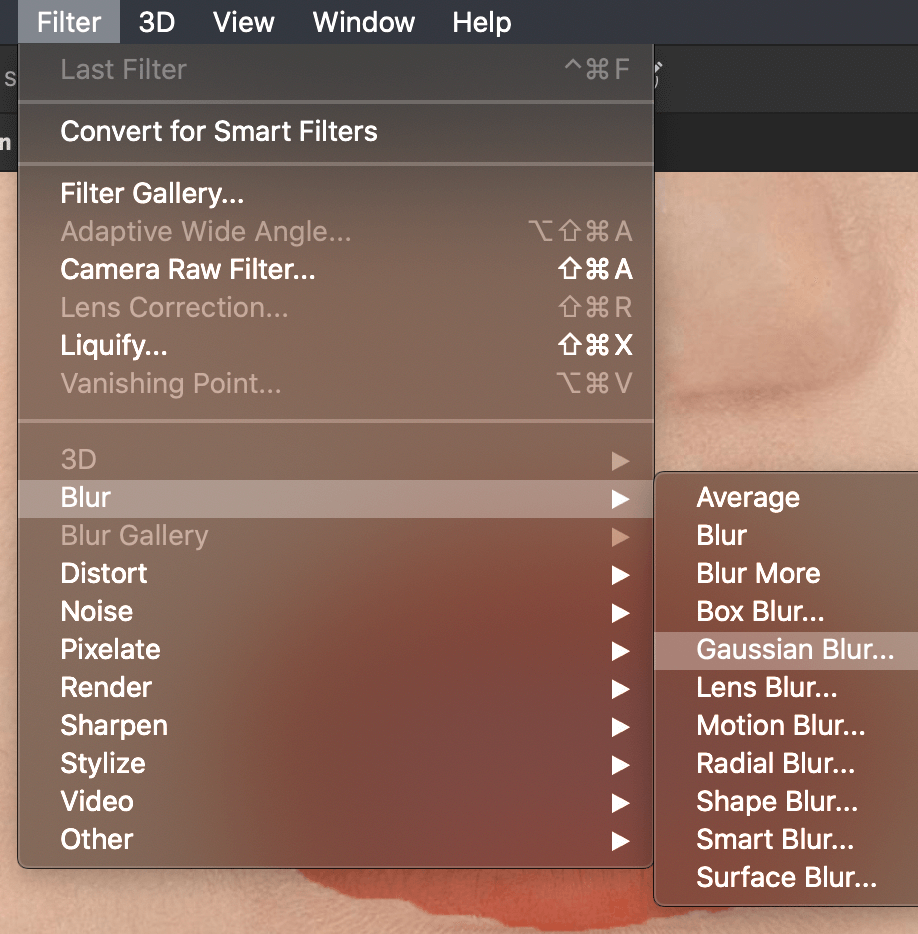
Gaussian Mistiness
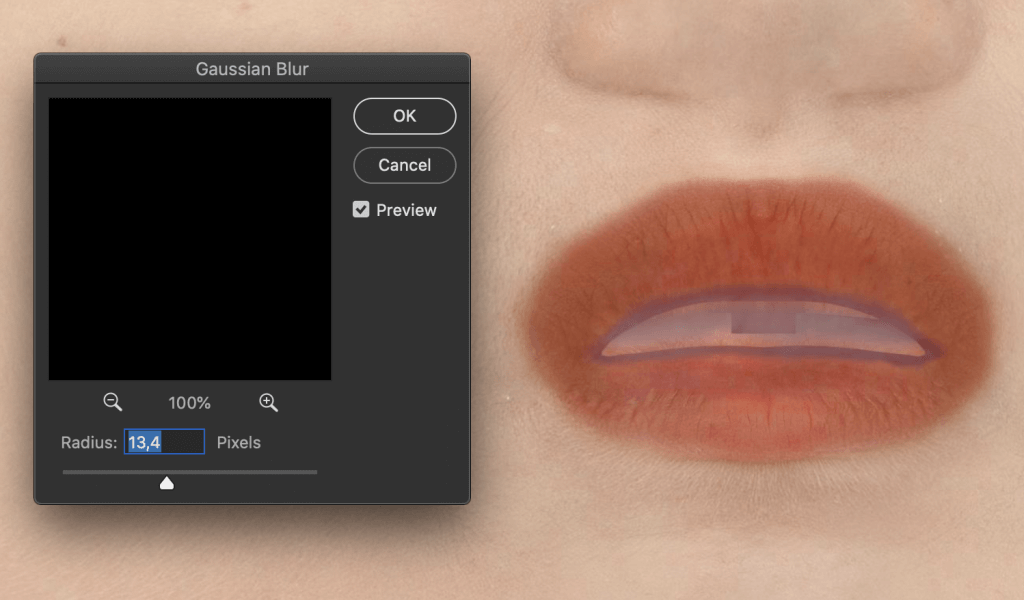
Gaussian Blur
If yous edit the eyelids and cheeks like this, your makeup will be ready in no time.
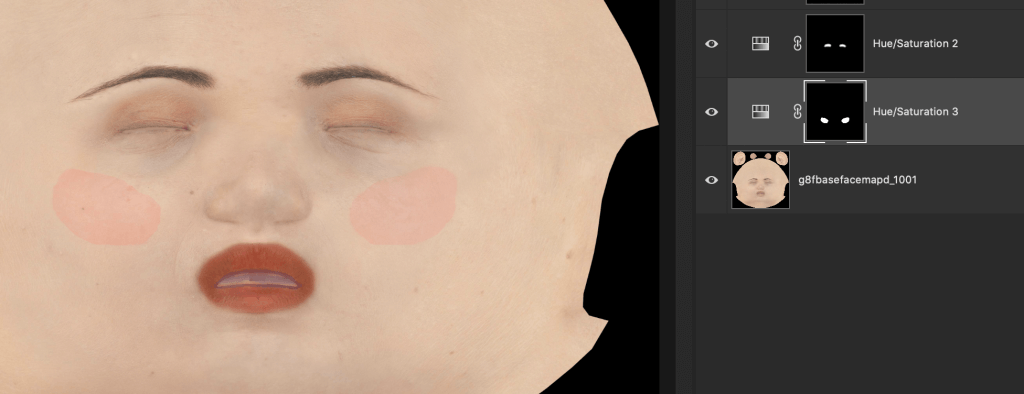
Cheeks
Makeup Finished
Add together a layer and draw a dot with night brown to create a mole.
Y'all tin can too utilize Gaussian Blur to blur it a flake.
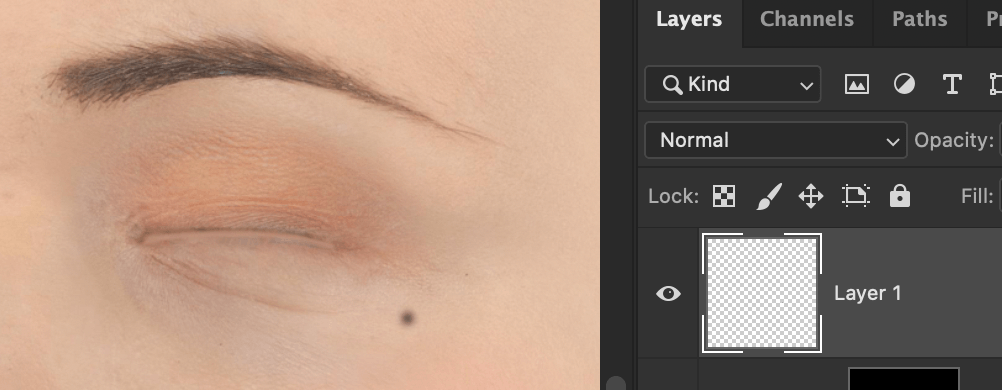
Add together Mole
Assign a Texture
Let's assign the completed texture in Unity.
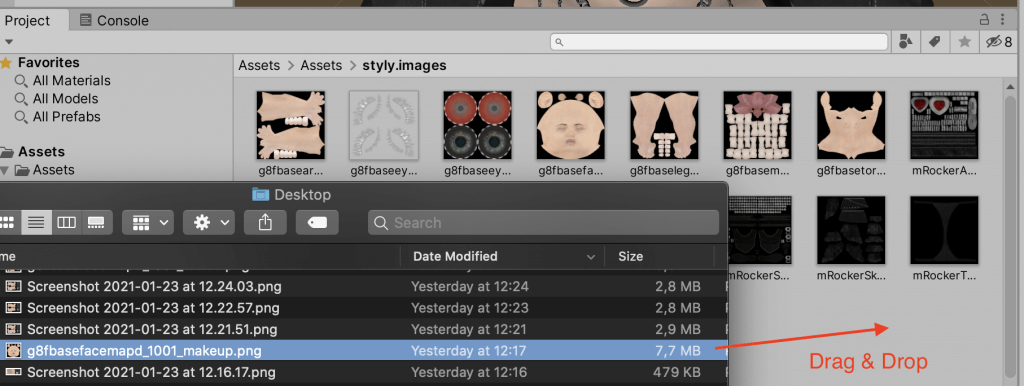
Consignment
Drag and drop the texture yous just saved to the asset.
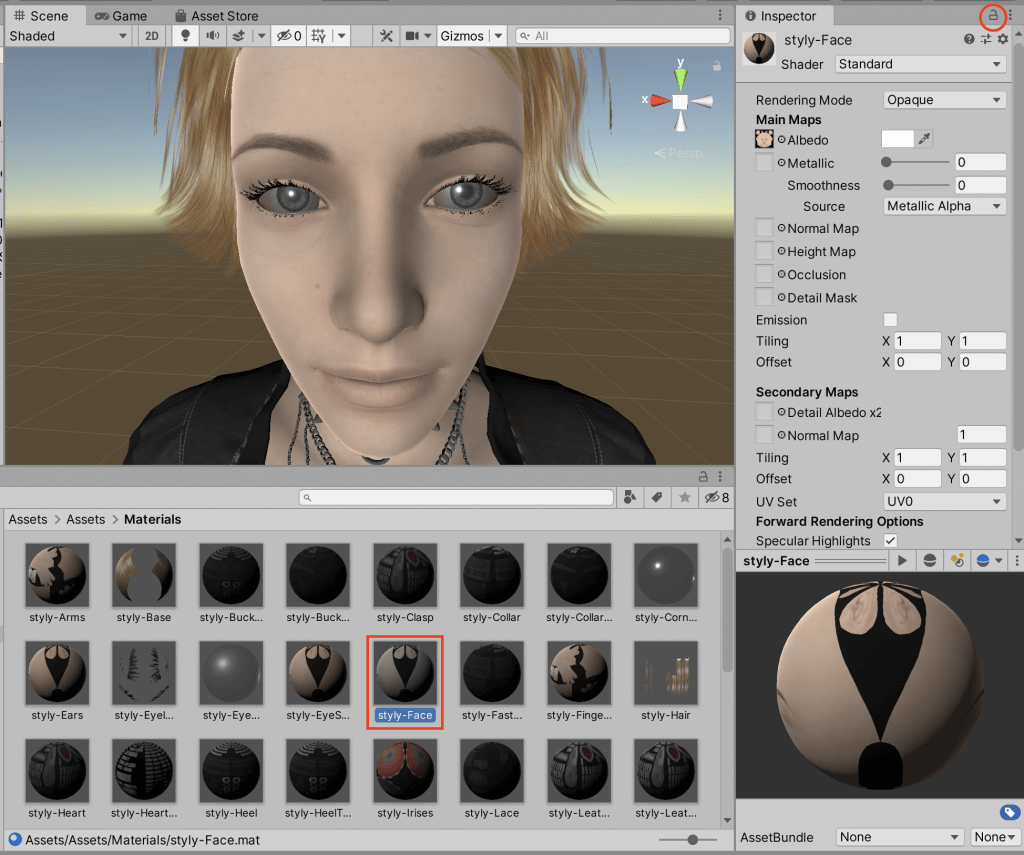
Face Material
Display the inspector window for the "~~-Face" textile, and click on the key in the upper right corner.
Drag and driblet the face texture to the location where the texture was originally assigned.
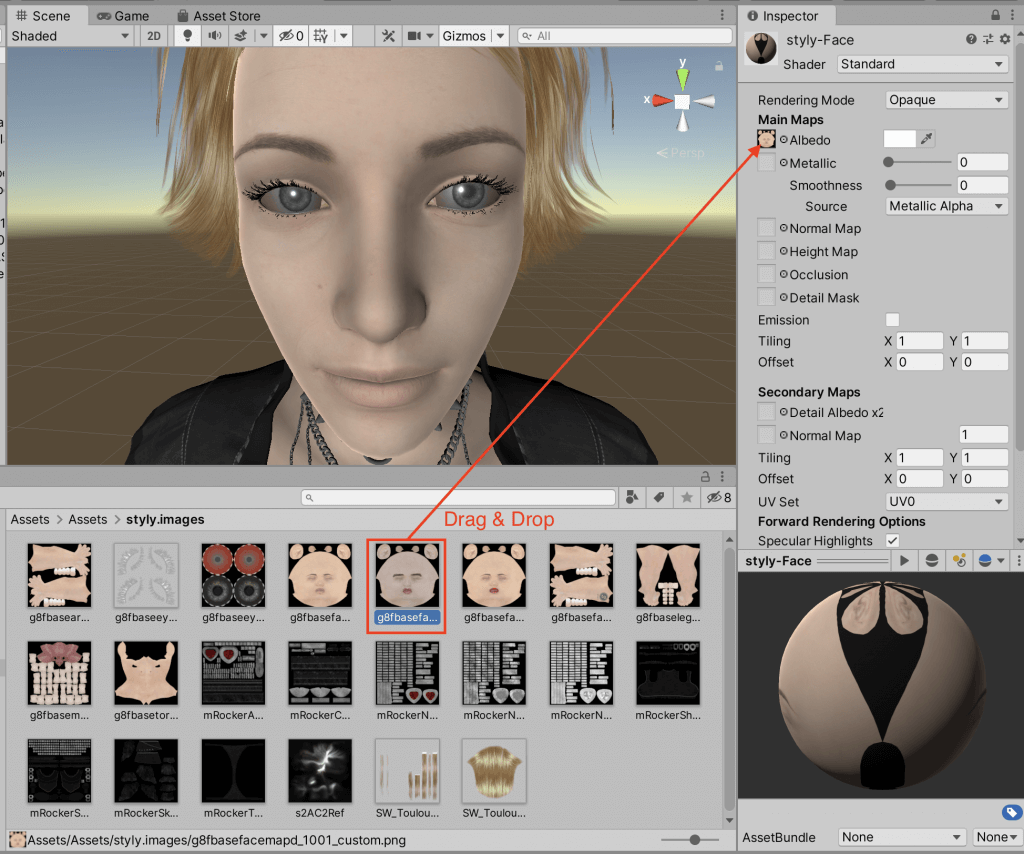
Texture Consignment
The eyebrows are now reflected.
Since the lips and face accept separate materials, we will likewise assign a new texture to the "XX-Lips" material.
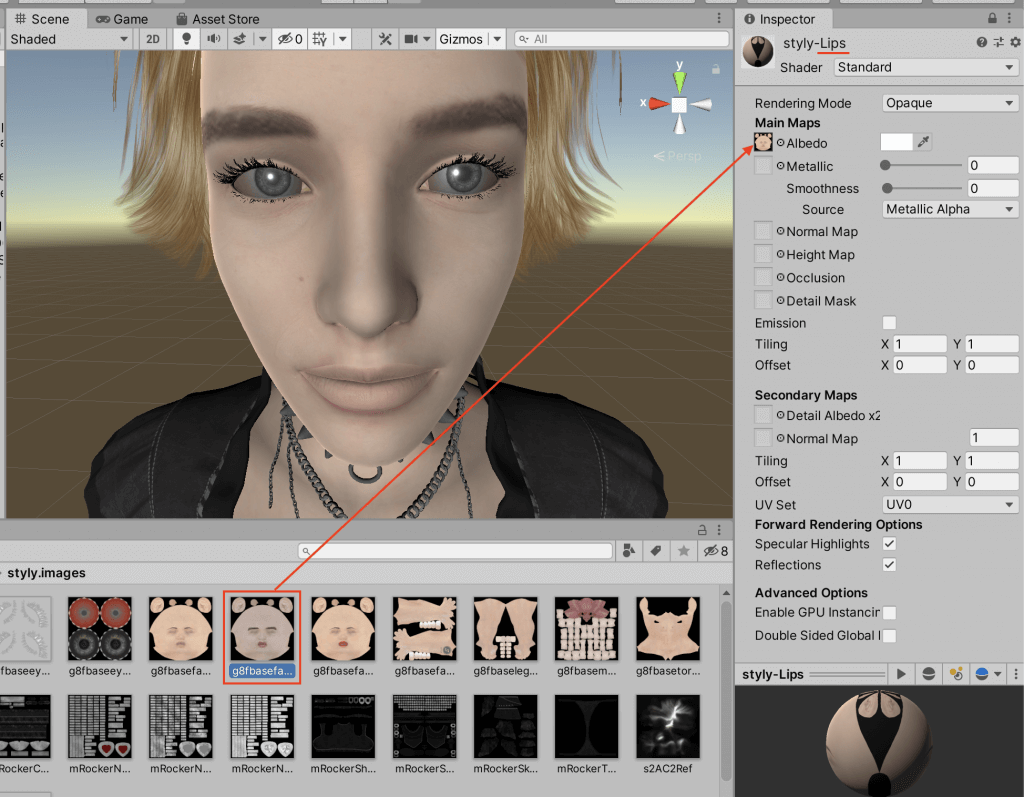
Texture Consignment
The texture is now applied to the unabridged face.
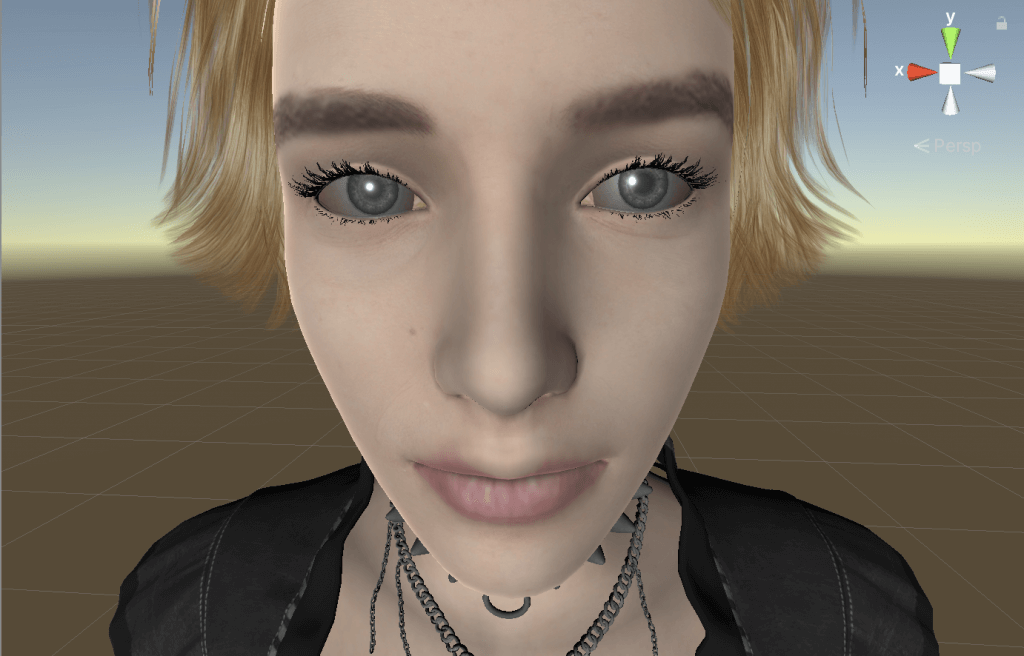
Material Updated
Hither is the makeup version.
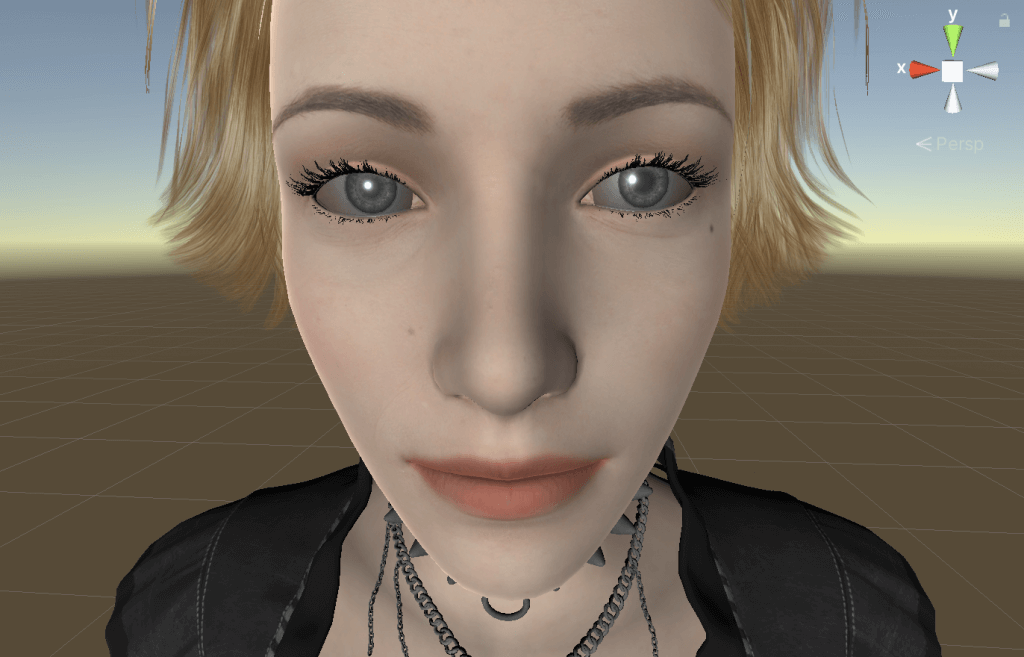
Material Updated
By editing the textures, nosotros've made them both more realistic!
In add-on to the confront, you lot tin can also utilise the body texture to add tattoos, change the center color, etc. The flow is almost the same, so endeavour that too.
The flow of the game is about the same, so you can try that too.
How to upload assets from Unity to STYLY
Introduction to NEWVIEW SCHOOL ONLINE
NEWVIEW SCHOOL ONLINE is now open! Acquire the nuts of Unity and PlayMaker, necessary for creating VR/AR content, and learn the process (and creation techniques) for developing attractive content available on STYLY.
- Create VR/AR content without writing any programming lawmaking.
- Professionally supervised Unity courses bachelor.
- Explore additional elements, such as photogrammetric production methods and content lightening.
- Larn the concept of creating VR/AR content.

Do I Need To Make A New Texture To Have Tattoos To Daz3d Characters,
Source: https://styly.cc/tips/daz-studio/nimi-dazstudio-texture-custom/
Posted by: plummerhisay1971.blogspot.com
0 Response to "Do I Need To Make A New Texture To Have Tattoos To Daz3d Characters"
Post a Comment